Showing posts with label MFT Creative Challenge. Show all posts

May 21, 2013

Creative Challenge - May Flowers


The MFT Design Team Creative Challenge is a monthly feature, where we are challenged to explore our creative side using a specific theme, product, or technique. 

This month, April Showers bring May Flowers!  Look forward to an assortment of flower-filled creations from today's participating designers.  Be sure to check out the MFT Blog for a list of all the designers who have a project to share with you today. 

I wanted to try pairing some mixed media products/techniques with clean and simple design - I had fun making my two cards for today!

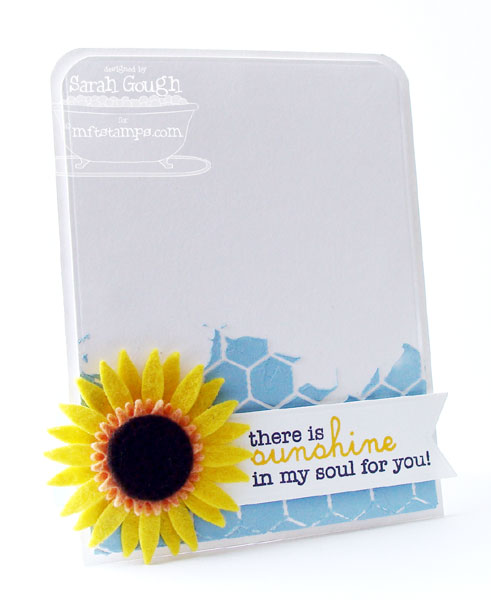
Both my cards today feature the Mini Chicken Wire stencil and luscious MFT Felt. I combined some modelling paste with Making Memories paint in Cornflower Blue and spread it over the stencil with a spatula. I let these pieces dry overnight.

This card features the new Cheerful Blessings stamp set. I masked off the sentiments so I could stamp in two colours. This flower is the awesome Sunflower Die-namics.


Inside the card I have sponged over the stencil with Berrylicious ink and stamped a second sentiment.


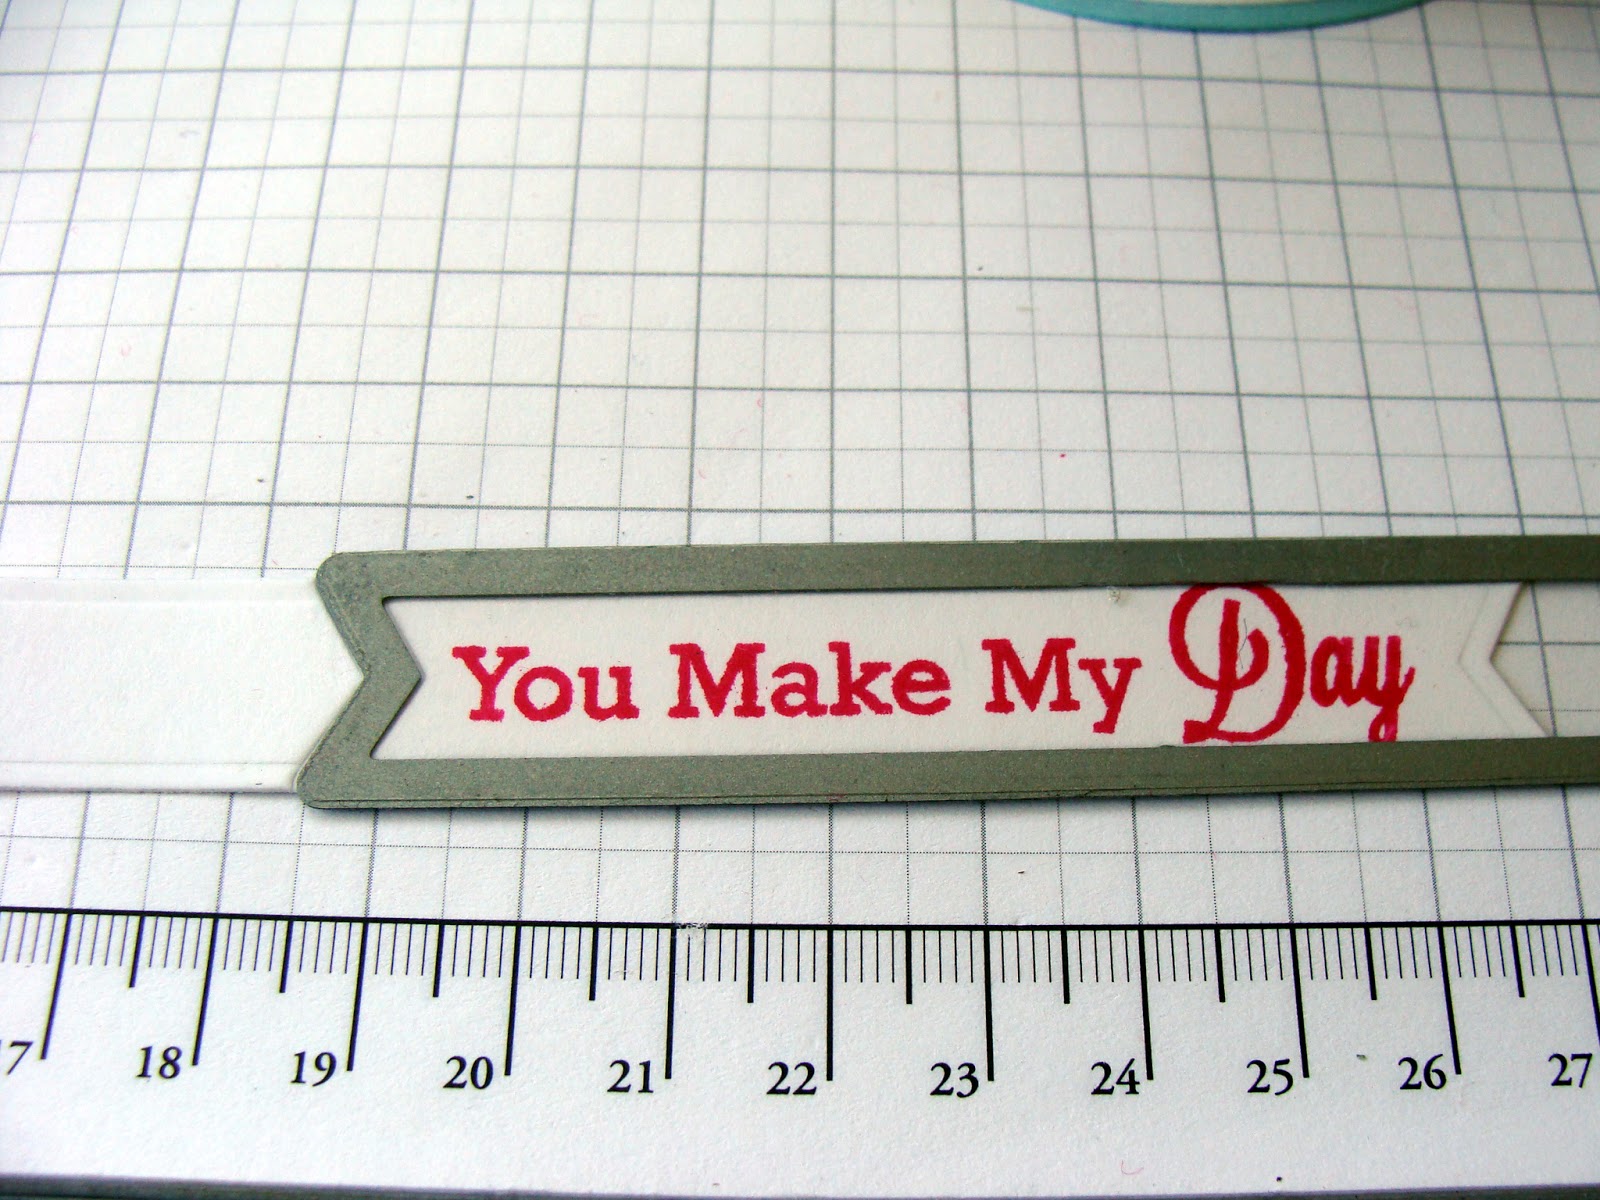
My second card features the bold Western Sentiments stamp set. 

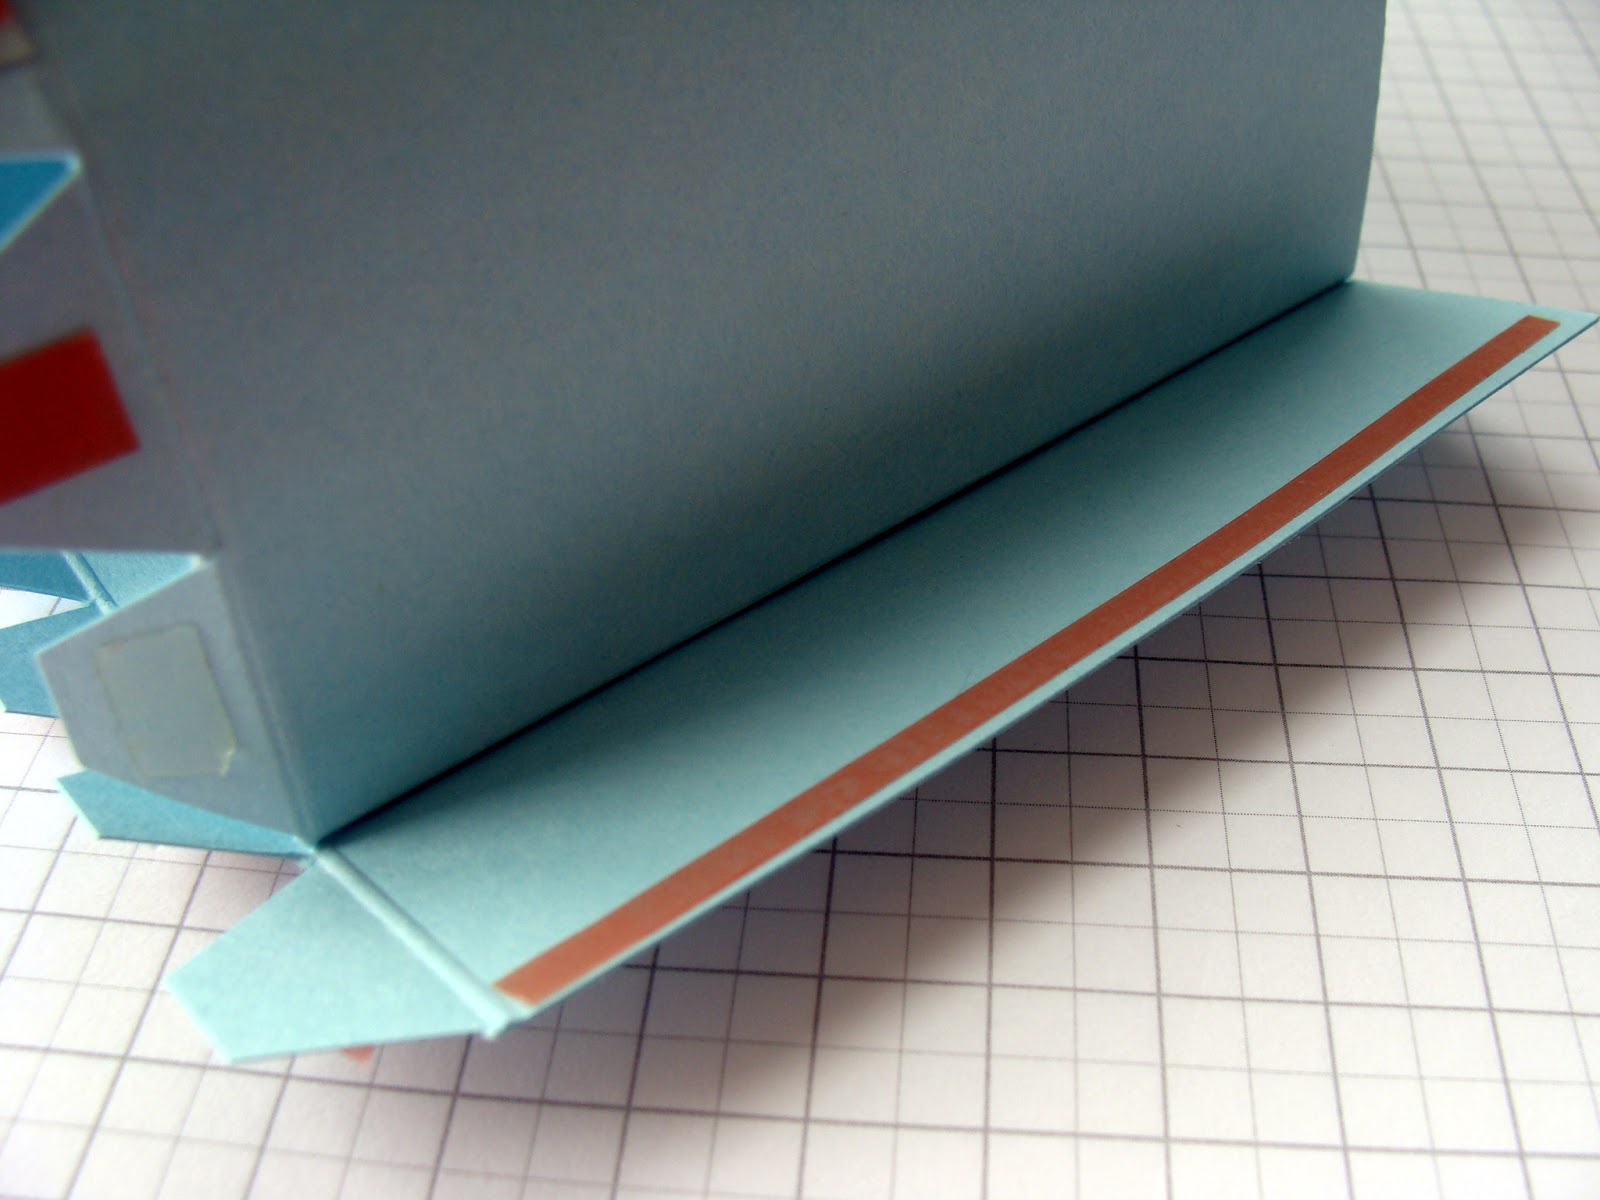
For this card I covered an entire panel with the modelling paste. I love the hint of pink showing through. The sentiment was stamped on the circle from Blueprints 3. I went back to basics for this card, using some of the very first flower Die-namics ever, the Rolled Flower and Mini Rolled Roses. I finished the card with some pearls.

Inside the card I've stenciled the pattern again, I just love being able to decide exactly where the sponging will allow the pattern to show.

Don't forget to stop by the MFT Blog for all the flowery goodness the DT have to share today!

Here are the wonderful My Favorite Things goodies I've used today:


Stamps: Cheerful Blessings, Western Sentiments (MFT Stamps) Paper: Pink Lemonade, Smooth White (MFT Cardstock) Ink: Premium Dye Ink in Hot fudge, Lemon Drop (MFT Stamps)  Dies: MFT Die-namics - Rolled Flower, Mini Rolled Roses, Fishtail Flags STAX, Blueprints 1, Blueprints 3 (MFT Stamps) Other: MFT Felt - Bubblegum, Sweet Tooth, Lemon Drop, Orange Fizz, Hot Fudge; Pearls, Corner Rounder Punch, Mini Chicken Wire Stencil (MFT) Modelling Paste, MM Paint in Cornflower Blue

April 23, 2013

Scene Building with Die-namics - Video!


Hello! It's time for another fun Creative Challenge with the MFT design team!

This month, we are focusing on creating scenes with our MFT goodies. I have two cards for you today, using two of the newest Pure Innocence girls. I also have a video to share!

January 22, 2013

Creative Challenge - Circle STAX Box and Card


The MFT Design Team Creative Challenge is a monthly feature, where we are challenged to explore our creative side using a specific theme, product, or technique. This month, we were challenged to create with our Circle STAX.  Be sure to check out the MFT Blog for a list of all participating designers who have a project to share with you today. 

For this month's challenge, I've used both sizes of Circle STAX to create an easy gift box and matching card.

This box is easy to make in any size you like - using all the different sizes of Circle STAX! Read on, I'll post a tutorial at the end of this post.


For my flowers today, I've used felt and the Royal Roses Die-namics, as well as the new Mini Hybrid Heirloom Rose.


I tied twine around my ribbon handle to create a faux pleated detail. I've decorated my items with white Liquid Pearls for a fun polka dot detail.


I've let the Leaf Filled Flourish hang over the sides of the lid of my box.

The same flourish overhangs the window I cut in the center of my card. I've trimmed away a small part of the flourish to allow it to frame the sentiment. Don't be afraid to alter your Die-namic cut pieces, the results can be fun!


The sentiment on the inside of my card is popped up on foam. I've also adhered a piece of white cardstock behind the window, cut with a slightly smaller circle to create a nice border.


I've used the same patterned paper on the inside of my card so it will show through the window.


The lid of the giftbox is constructed in the same way as the base of the box. A short squat box would look fantastic as a mini hat box!

Here are the wonderful My Favorite Things goodies I've used today:


Here's how to make my circular gift box. Experiment with different lengths of cardstock, as well as different depths for a completely different look! Click on the photos for a closer look!

I started with a piece of cardstock, 11" by 4.5"


Score each side at 1/2"


Cut small triangles as shown to create little tabs. These will form the base of the box.


Adhere red line tape to each tab.


Curve your cardstock to create a cylinder. Adhere the tab a small way inside the box, if you do it on the edge, you'll end up with a tear drop shape.


Use tape to finish forming the cylinder. Don't worry if you get a crease or two in your box, you can cover them with paper when decorating!


Curve the small tabs inward.


Use an appropriate sized Circle STAX to cut the base for your box.


Center your box on the base. I layered on a second colour for added interest and strength.


To create the box lid, repeat the steps with a second piece of cardstock the same length, and whatever depth you desire.


Wrap the lid piece around the box when adhering the side tab to make sure it will slide on and off easily.


Adhere an appropriate sized circle to finish the box lid. It's time to decorate!


I used ribbon to attach a handle to my box.


To get the embossed edge all the way around your sentiment piece, cut with a Fishtail Flag STAX, stamp your sentiment, then lay the piece back inside the Die-namic before cutting again.


You'll end up with a perfectly embossed and centered piece! Thanks for visiting today!
 
Stamps: You Make My Day (MFT Stamps) Paper: Pretty Party (Crate Paper) Ink: Premium Dye Ink in Razzleberry (MFT Stamps)  Dies: MFT Die-namics - Layered Heart Border, Circle STAX, Fishtail Flags, Mini Royal Roses, Large Royal Rose, Mini Hybrid Heirloom Rose, Leaf Filled Flourish (MFT Stamps) Other: MFT Felt - Sno Cone, Razzleberry; MFT Ribbon - Razzleberry; Twine, Cord Brads, Liquid Pearls

December 18, 2012

MFT Creative Challenge - Background Building


The MFT Design Team Creative Challenge is a monthly feature, where we are challenged to explore our creative side using a specific theme, product, or technique.
 

This month, we were challenged to do some background building using our MFT Stamps and Die-namics.  Be sure to check out the MFT Blog for a list of all participating designers who have a project to share with you today. 


I have two cards to share with you today. I've used Die-namics to create a faux embossed effect for my backgrounds.


I've cut the new Winter Rose from Whip Cream cardstock and layered it on a Whip Cream base. From a distance, the background looks embossed! The stamps for this card are from the Lovey Dovey Sentiments set, currently available free when you spend $60!


This is a great way to use up card scraps and get extra benefit from your Die-namics collection.


I've also used Darling Dots on the lower third of my backgound layer. It's mostly covered up, but I've also used the medium size of the Triple Scallop Border. The stamping is done in Pink Petunia Versamark ink.


Inside this card I've stamped the dots again and used offcuts of some of the Die-namics to add in a little more faux embossing.


For my second card, I've used the same technique to create a clean and simple card.


The trick to making the faux embossing look great is to go off the edges of your card, then trim for a random look.

After stamping my sentiment on a Fishtail Flag STAX I used a bone folder to break up the paper fibres and make the banner soft and pliable.


I used the same sentiment treatment on the inside of the card and added a couple of extra flowers.

Here are all the fab MFT products I've used today: