Showing posts with label Shabby Chic. Show all posts

June 1, 2014

June SFYTT! Little Baby...


Hello friends! We're in the middle of a long weekend here in New Zealand - just as well - I'm super busy with the party planning for next weekend's toddler bash! I can't believe I'm almost mama to a 2 year old!


I guess I've had babies on the brain, thinking about when Jackson was younger, so I made a sweet baby card with the new June SFYTT.


Here's my card!


I paired Lots to Say with Petals 'n Posies for my slightly shabby chic card. I used distress inks for the flower stamping, deliberately going for a not-so-crisp look and sponging a second layer of color onto the largest flower. I've also used the Double Edge Scallop Border along the horizontal panel.

Here's a peek inside my card...


Inside I've used Beautiful Banners and the matching Confetti Cuts!

Sketch For You To Try Details:

  • There will be a new sketch posted on the Reverse Confetti blog on the 1st of each month.
  • The sketch link list will be open from the 1st until noon CST on the 14th. The sketch will be posted in the sidebar and you will be able to click on it to get to that month’s SFYTT post with the link list during this time.
  • Reverse Confetti stamps are required to win.  This is a way we get to thank our customers for using our stamps.  Anyone is welcome to play, though!
  • You may enter as many times as you wish.
  • There will be a winner each month and that person will receive a $20 gift certificate to the Reverse Confetti store and claim the title of ‘Fetti Fave. The winner of SFYTT will be posted on the Reverse Confetti blog on the 15th of each month.
  • Stop by the Reverse Confetti blog for lots of inspiration from the Confetti Crew!

April 4, 2013

WSC118 - Hello Spring


It's sketch time again at My Favorite Things and this week I've taken the sketch in a shabby chic direction!


I've used crayons and crackle paint to get lots of texture in my design today. 

March 16, 2013

Flowers Bloom


Hi Friends! Today I'm here to share a card made for the new Viva La Verve sketch (March week 3) and the Simon Says challenge to make a shabby chic card. I've been enjoying this style lately and Verve is always a perfect match for distressed edges and sponging!

 
My main sentiment is the Where Flowers Bloom PJ. The flowers are from Brighter Days and are cut with the Scalloped Flowers die.

I flipped the sketch to accommodate my flower and large sentiment. All my edges are sponged and distressed and I added some wonky machine stitching to my base layer. I also added some Stardust Stickles randomly on the edges of my flower. I also busted my ink spritzer tool out of hiding and added some sprayed detail with a crumb cake marker.

The brad in the center of the flower was pewter, I "shabbied" it by adding a layer of white enamel and wiping most of it off before it dried.


I kept the inside of my card super simple so there would be lots of room to write a message. I used my inkpad direct to paper and also spritzed on some crumb cake marker. The medallion from Grateful Elegance is stamped in Tattered Rose.

Stamps: Where Flowers Bloom PJ, Artful Elegance, Brighter Days (Verve Stamps) Paper: Nostalgia (MME) Ink: Tattered Rose, Antique Linen Distress Ink (Ranger) Jumbo Java Versamagic Chalk Ink Dies: A Cut Above Dies: Scalloped Flowers (Verve Stamps) Eyelet Circles (Spellbinders) Fishtail Flags (MFT) Other: Pearls, Crumb Cake Marker, Air Spritzer Tool, Embossing Folder, Brad, White Enamel Accents (Ranger)

March 12, 2013

New Product Tour - Bright and Shabby!


Welcome! It's time - all those wonderful new goodies from My Favorite Things are available RIGHT HERE NOW!!!


The team are back for the New Product Tour - we're sharing projects made with all the fantastic new release stamps, Die-namics and replenishments!

I have a few projects to share today, a bright and fun birthday set and at the other end of the spectrum a shabby chic vintage card!


First up today is a birthday set I created based around the new Lollipop Additions - Birthday stamp set!


My set started with the wonderful Lollipop Treat Die-namics...


I love the Lollipop Treat range and the birthday set is SO fun! I stamped the banner at the bottom of my treat, and layered up the embellishments on the rosette topper. I've used Hootenanny paper from MME for this set. The cute party hat is from the Party Hat border!


I've also used the Lollipop Additions - Birthday stamp set on this pillow box. I stamped the sentiment, then punched out the center of the panel to frame this cute owl!


I've also used the party hats on this box and the card as a unifying feature.


For the card, I had to break out the Blueprints 1 Die-namics. I would run to get these folks, I have a feeling they will be flying off the shelf!


The sentiments from this card come from the amazing Birthday Sentiments set - yours free when you spend $60 this month! I used a Circle STAX Die-namics to create a recess for my Whip Cream button on the front of my card.

I couldn't resist adding a party hat to the inside of the card as well, they are too cute!

Now for something completely different...

I wanted to use Pretty Poppies to create a shabby chic card and I LOVE how this turned out! I stamped the poppies in distress inks and painted over top with crackle paint. The paint will make the ink run and blur which is exactly the effect I wanted! I love how soft and pretty it looks. I rubbed a little extra ink over top of the crackle to enhance some of the lines.


I hand dyed my seam binding with the distress inks as well. I sponged, distressed and ripped all the edges of my panels and quickly stitched a border on the main panel, letting go of my usual desire to sew straight!


I roughed up the inside of my card as well, and created two more crackle panels for layering my sentiment panel with. I had some ribbon left over so used it up here!


Thank you so much for stopping by today, I hope you've enjoyed the projects I've shared! Be sure to stop by the MFT Blog and see what the entire team has been creating!

Here are the wonderful My Favorite Things goodies I've used today:


  Birthday Set:
Stamps: Lollipop Additions - Birthday, Birthday Sentiments (MFT Stamps) Paper: Hootenanny (MME) Ink: Versamagic Chalk Ink Dies: MFT Die-namics - Party Hat Border, Blueprints 1, Lollipop Treat (MFT Stamps) Other: Twine, Whip Cream Button (MFT Stamps) Rhinestones

Pretty Poppies Shabby Chic Card:
Stamps: Pretty Poppies (MFT Stamps) Paper: Fabrications (MME) Ink: Distress Ink - Shabby Shutters, Antique Linen, Tattered Rose  Dies: MFT Die-namics - Labels 1 STAX, Layered Label (MFT Stamps) Other: Twine (MFT Stamps) Crackle Paint (Ranger) Seam Binding, Brads, Vintage Brad, Buckle

September 20, 2011

Shabby Riley + Copic Colour Key


It's time for another Riley challenge! Heather has challenged us to create a shabby chic card with at least seven layers. I've been promising to tell you the Riley colours I use, so read on for the next installment in my Copic Colour Key series.


I love this Good Luck Riley image, it's one of my faves. Riley was coloured with copics then fussy cut. I added lots of embellishments, rolled flowers, stickles, a stick pin and some seam binding ribbon.

Please feel free to save this image to your computer and use it as a reference.


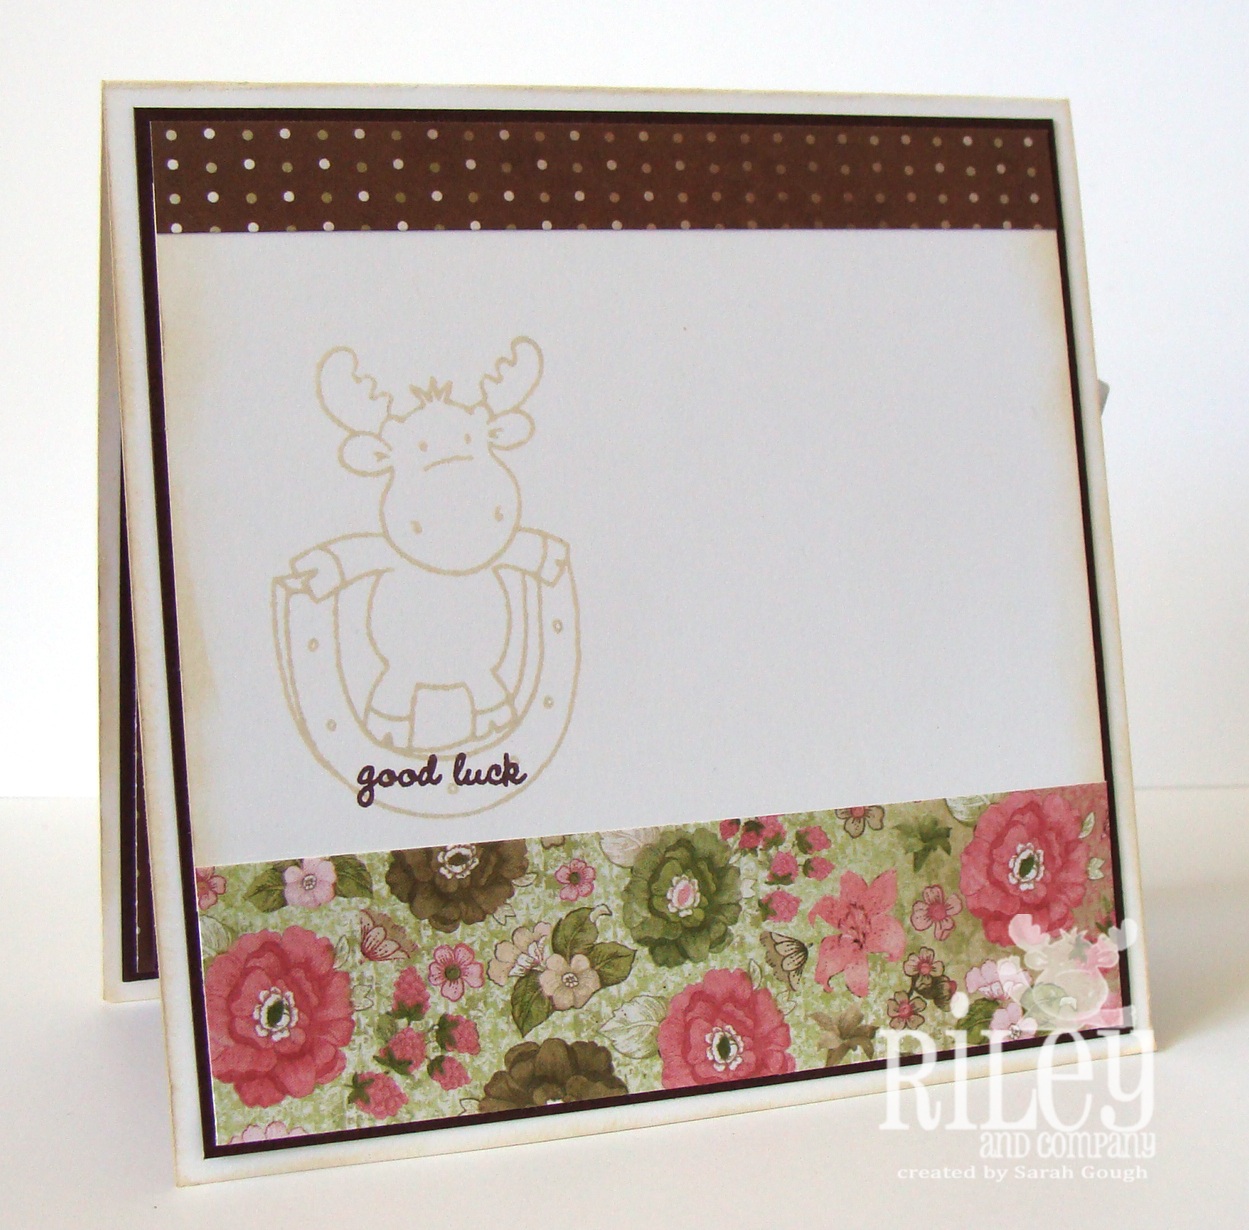
Inside my card I have used some off cuts of the patterned paper and shadow stamped my image again.

Please visit the rest of the moose-mates (links on the sidebar) and see their gorgeous creations!

 Thanks for stopping by!
 
Stamps: Good Luck Riley (riley and company) Notched Tag (MFT Stamps) Cardstock: Chocolate Chip, Vanilla (SU) Paper: le chateau (Kaiser Craft) Ink: Tuxedo Black (Memento) Chocolate Chip (SU) Dies: Decorative Doily, Rolled Flower, Rolled Rose, Notched Tag Die-namics (MFT Stamps) Circle Nestabilities (Spellbinders) Other: Seam Binding Ribbon, Stick Pin, Antique Bronze Distress Stickles, Copic Markers

May 16, 2011

You're Vintage!

Hi everyone - I hope your weekend was great! I've been busy writing essays, but I found time (over the course of three days) to put together a card for a fun Flourishes challenge - 3 in a Row.
I love innovative challenges like this....the problem was, I couldn't decide on which row to do - so I used them all!
I've used a button, the colour pink, scallops and lace with my new high tea doily die. My bling is homemade glimmermist on the flowers, pretty posies die cut flowers, crumpled seam binding for my ribbon, and finally I added pearls - I love the shabby chic effect all those elements created!
I love the vintage yet modern take in the this stamp set - it's just the perfect way to do vintage for a modern loving girl like me!

Stamps: Just my Type (MFT Stamps) Cardstock: Soft Suede, Kraft, Very Vanilla (SU) Paper: Bright Dots Collection (MME) Blushing Bride DSP (SU)  Ink: Graphite Black (Brilliance) Dies: High Tea Doily, Pretty Posies, Sweet Stack Labels Die-namics (MFT Stamps) Punches: Mini Scallop (SU) Other: Pearls (Kaisercraft) Seam Binding, Prima Flowers, Baker's Twine, Button