November 25, 2013

Animal House!


Hello friends! I have a card for the brand new Catered Crop Recipe Swap today - the theme is Animal House - use an animal on your creation! We're also welcoming three HOT new designers! Welcome Barbara AndersLisa Henke and Tammy Herschberger!


This adorable and oh so hip Hippo from Avery Elle has been in my stash begging for ink for months now. I had to paper piece him and add some hipster flair. I'm also playing along with the AEI♥U challenge which is anything goes!


I know! Another square file folder card created with the envelope punch board! I swear I'm done for now. This is the base you see me create in the tutorial video. I paper pieced the hippo, popping up his head on foam dots.


I added shading with grey copics and gave him some super rosy cheeks. I made sure to set his hat at a jaunty angle! All the paper is from the same glitz pack.


I shopped at i {heart} papers for my supplies today! The stamps are Avery Elle - Hipster-Potamus and Handwritten Notes, the paper is Glitz - Finnley, and I've also used the Hey Script Word Die, Shadow Inks and Enamel Dots. You'll find many more goodies in store, head on over, take a peek at what's new and say hi from me!

Here's the inside of my card...


I love the Handwritten Notes set, the sentiments are just so fun.

Thanks for stopping by - I hope you'll play along with the Animal House challenge!

Stamps: Handwritten Notes, Hipset-Potamus (Avery Elle) Paper: Finnley (Glitz) Ink: Fresh Peach, Pale Tomato, Soft Granite Shadow Ink (Hero Arts)  Dies: Pierced Circles, Lead The Way (MFT) Hey Script Word Die (Memory Box) Other: Doodlebug Enamel Dots, Magnetic Snaps


November 24, 2013

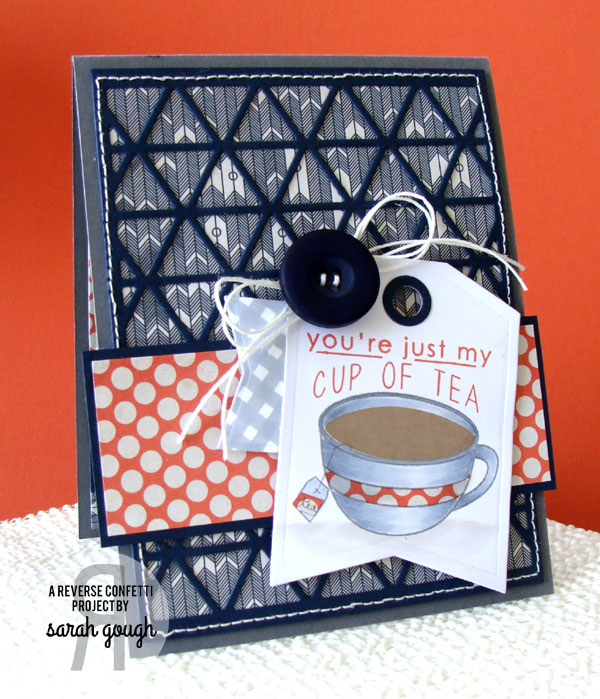
My Cup of Tea


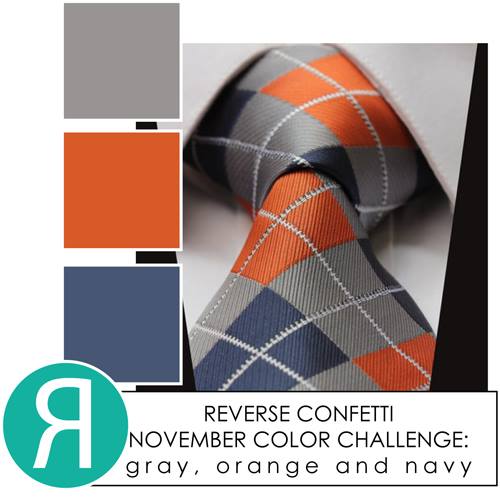
Hello! I'm popping in today with a card for the November Color Challenge at Reverse Confetti (I'm so excited that this is my first official project as part of the Confetti Crew!)


I've also used the fab sketch at Seize the Sketch #8 - created by my friend and Reverse Confetti teamie, Stacey.


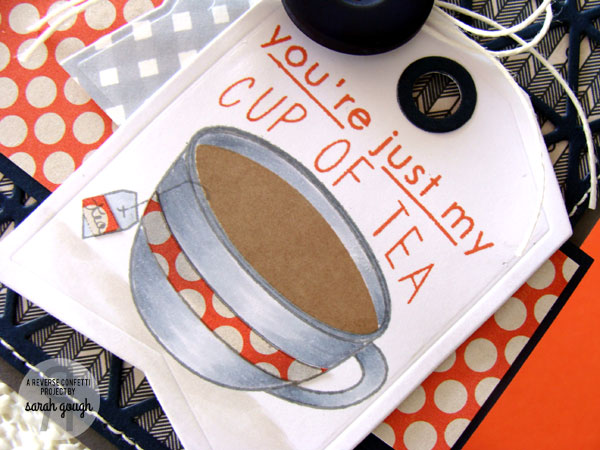
This is my first time playing with the Tag Me Confetti Cuts dies, and oh my, they are fabulous! I've used the large tag, and the small tab on the side is the smaller tag stamped with the So Stripey set.


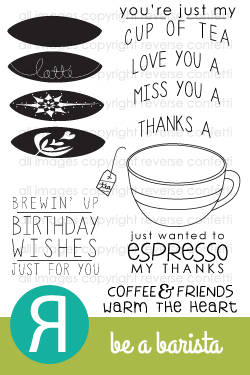
I coloured the tea cup from Be a Barista with cool gray copics and paper pieced the band and tea bag.

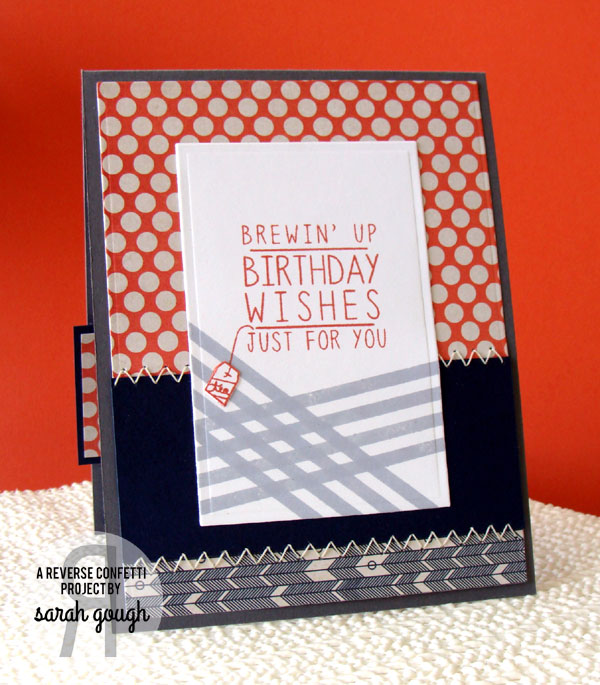
Here's the inside of my card...


I'm loving those stripes stamped on an angle - I think the possibilities for the So Stripey set might just be endless!

Please play along for your chance to win $20 to spend in the RC shop, you'll also win the title of 'fetti fave!


Stamps: Be a Barista, So Stripey (Reverse ConfettiPaper: Persimmon (Basic Grey) Ink: Soft Granite (Hero Arts) Tangy Orange (MFT) Dies: Confetti Cuts: Tag Me (Reverse Confetti) Triangle Screen (MFT) Other: Button, Twine, Copics

November 23, 2013

Thanks a Latte


Hi there peeps! I'm going to keep it short and sweet today - hubby and I get to have our first movie and dinner date night since the baby was born and I'm SO excited!

It's time for another fun challenge at Crazy for Challenges!

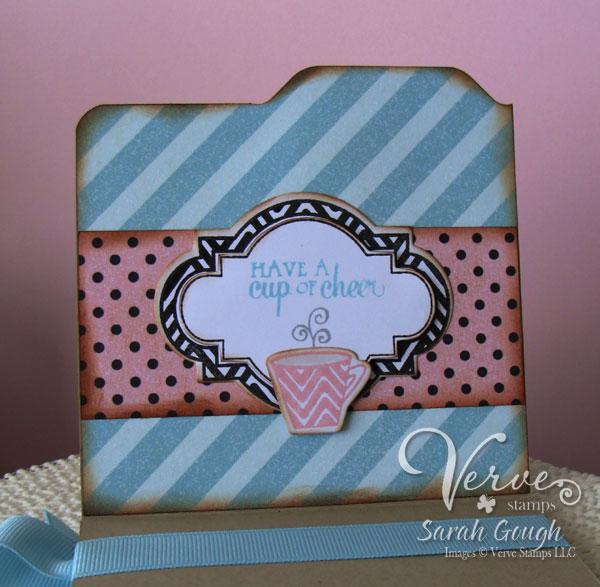
This week the challenge is to create a thank you card. Here's my card...


I've made a square file folder card with magnetic closure again - you can check out my video tutorial here.

Lots of new and old Verve goodies on this one! I used Holiday Treats, the co-ordinating Tagged Rectangle Die and the Cup of Cheer dies.

The paper is MME Cut and Paste.


On the inside of my card I used the frame image from Unto Us with the coordinating Classy Label die.

Stamps: Holiday Treats, Unto Us (Verve StampsPaper: Cut and Paste Adorbs (MME) Ink: Bubblegum, Sno Cone (MFT) Vintage Photo Distress Ink (Ranger) Dies: A Cut Above Dies: Cup of Cheer, Tagged Rectangle, Classy Label (Verve Stamps) Other: Envelope Punch Board, Ribbon, Twine, Jumbo Eyelets

November 22, 2013

Square File Folder Card with Hidden Magnetic Closure - Video!


Hi friends! I have another file folder card and video tutorial to share today using the Envelope Punch Board from W R Memory Keepers. I've seen so many regular sized file cards with this tool, but I wanted to make a square version AND include a hidden magnetic closure, here's what I came up with...


I love the little tabs at the top just begging you to open the card!

My stamps today are from There She Goes, Season's Greetings. It's There She Goes Again week and the Trendsetters are all sharing creations made with some fab Christmas sets. Be sure to go visit and see all the amazing inspiration!


I just love that vintage Santa! I coloured with copics, fussy cut and added stickles accents on the robe trim and the stars. I'm playing along with the Merry Monday challenge to use trees and bling (does glitter count as bling?! I hope so!)

Here's the video on how to make this card base...

View full size on You Tube here.

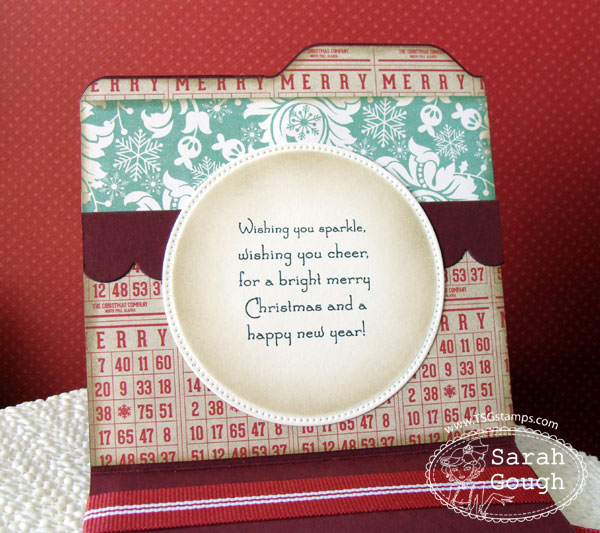
Here's the inside of my card...


Christmas sentiments don't get any more perfect than that!

Thank you for visiting - if this is your first time, I'd love if you'd become a follower and like my facebook page (links in the sidebar) I'll be having a giveaway for followers very soon!
  
Stamps: Season's Greetings (There She GoesPaper: Reflections Christmas (Echo Park) Ink: Memento Black, Kraft (MFT) Dies: Let it Snowflake, Pierced Circles, Simply Scallops Medium (MFT)  Other: Ribbon (SU) Magnetic Snaps (Basic Grey) Copics, Stickles

I'm Throwing Confetti!


Oh boy. Am I ever excited to share the news with you. You know I LOVE Reverse Confetti right? I'm still pinching myself - I'm now part of the Confetti Crew!!!

I have loved Jen's amazing stamps since day one and having guested for the last two releases I can honestly say Reverse Confetti inspires me to no end! I can't wait to see what's next and create alongside this amazing group of stampers!

You can visit the Reverse Confetti blog here and shop here (NZ peeps - international shipping is reasonable and fast!) Don't forget the color challenge is on right now

I've got a card for the challenge almost finished - I'm just waiting on a vital ingredient, for now I'm off to keep floating on cloud nine and I'll leave you with a few of my favourite Reverse Confetti cards!


November 20, 2013

Merry and Bright - Glittered Snow


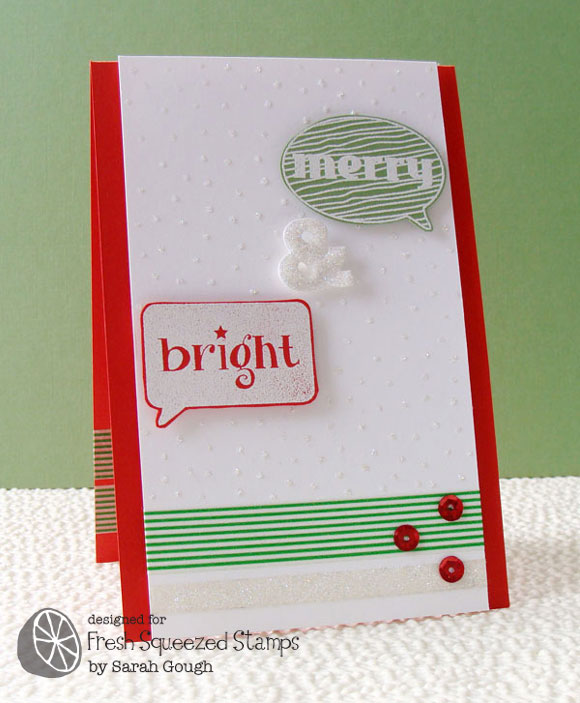
Hello! I've got a clean and simple Christmas card to share today with lots and lots of sparkle and gorgeous Fresh Squeezed Stamps!


I've used Hello December, embossing the sentiments in white. I die cut an ampersand, coating it in glitter. More is more when it comes to sparkle, so to create my background I dotted all over with a quickie glue pen and sprinkled on some glitter for a snowy look.


I also glittered a strip of red line tape, added some washi tape and a trio of sequins for even more sparkle!

Here's the inside of my card...


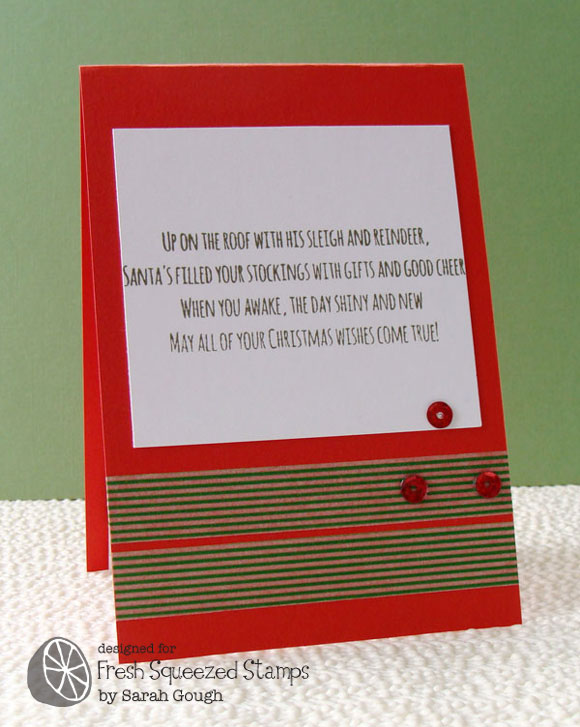
More sequins and tape compliment the gorgeous sentiment from Inside Scoop: Holiday. As someone who loves to finish her cards inside and out, I just love these large format sentiments!

Don't forget, I'm on the Fresh Squeezed blog every Tuesday, and you'll find inspiration there daily from my fabulous teammates!

Stamps: Hello December, Inside Scoop: Holiday (Fresh Squeezed StampsPaper: Real Red, Wild Wasabi (SU) Ink: Olive (MFT) Versamark Dies: By the Letters (MFT) Other: Washi Tape, Glue Pen, Glitter, Sequins, Red Line Tape  

November 16, 2013

Crazy for Christmas!


It's time for another fun challenge at Crazy for Challenges! This week the challenge is this fun sketch...


Here's my card...


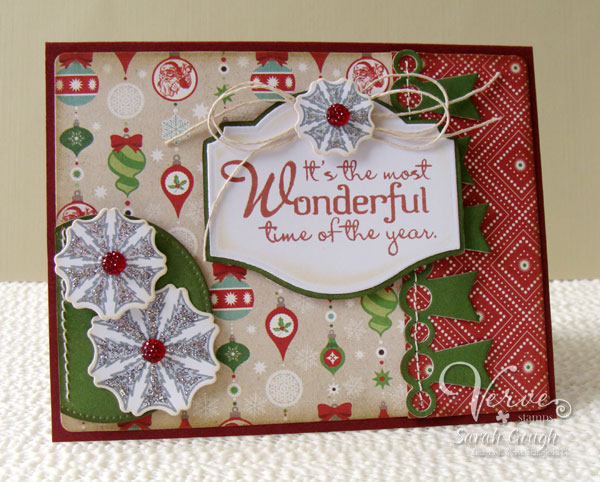
I've used the amazing Christmas in the Air set from Verve. The snowflakes are cut with the Frosty Snowflakes die. I've also used the awesome Award Banner Trim die.


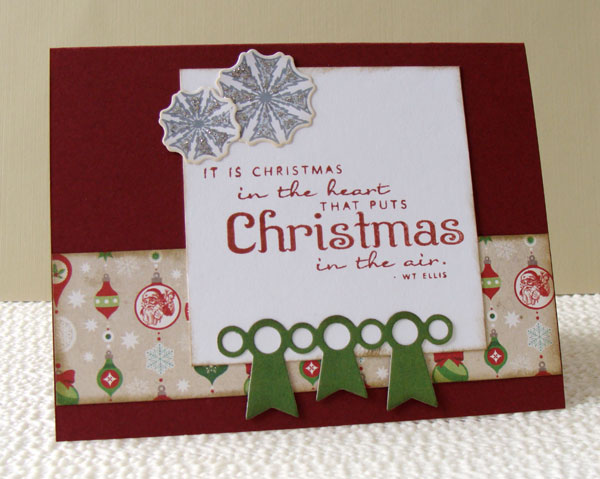
Here's the inside of my card...


 Now it's time to go see all the fab inspiration from the design team, happy hopping!
It's sale time at Verve!!

Stamps: Christmas in the Air (Verve StampsPaper: Reflections Christmas (Echo Park) Ink: Brick Red (MFT) Memento Gray  Dies: A Cut Above Dies: Frosty Snowflakes, Award Banner Trim (Verve Stamps) Designer Labels, Pierced Circles (MFT) Other: Stickles, Twine, Jewels

November 14, 2013

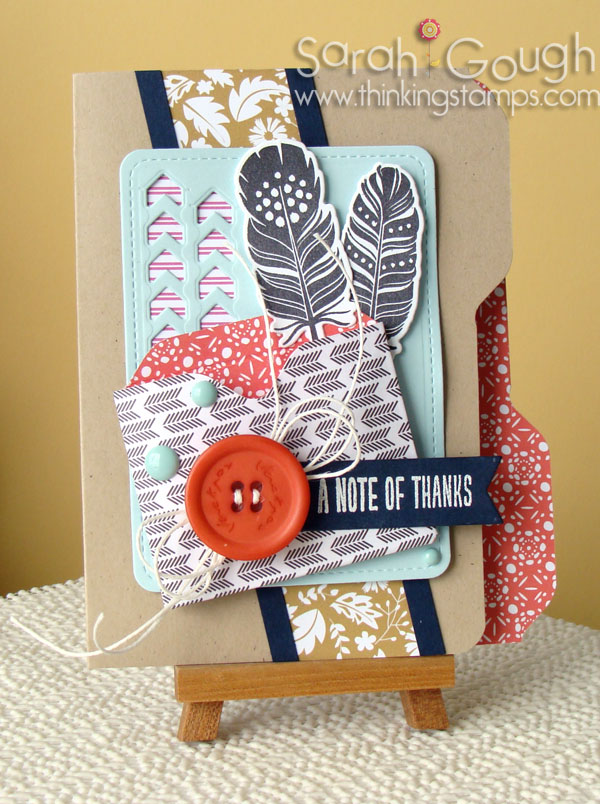
Envelope Punch Board File Card and Envie


Hi friends! I have a new (to me) fun tool that I'm sharing today...
I'd been seeing these W R Memory Keepers Envelope Punch Boards when I went shopping, but didn't pay much attention because I still have a bunch of envelope templates - and who needs a tool that only does one thing? Not this girl! Yesterday though, Frances posted these tags and I finally clicked that this was the board everyone was using for lots of things, including the fun file cards you might have seen around. (stampin' up are selling this board, I bought mine on sale - exactly the same thing, just the original branding and cheaper!)

I grabbed one last night and oh is it fun! You can do a bunch with this board - just have a peek around pinterest or youtube for inspiration! Here's my pinterest board where I have a couple of tutorials pinned.


I probably should have watched a tutorial for the file cards, but I just winged it and (the second time!) it turned out great. I used half a sheet of cardstock, put the cardstock in the punch halfway for the first tab, then just chose a measurement for the second punch to create the tab shape then trimmed away the excess cardstock. Flipped the card over and did the same thing.

I also made the little envelope on the front of the card with the punch board, using an old template as inspiration. It took me awhile, but using a template worked well - I'm not good at visualizing things otherwise! 


I shopped at i {heart} papers for my supplies today! The stamps are from Wplus9 - Fanciful Feathers and Basic Banners, the paper is Wildflower by Carta Bella, and I've also used the Stitched Journalling Card by Lawn Fawn, White Twine, and Enamel Dots. You'll find many more goodies in store, head on over, take a peek at what's new and say hi from me!

Here's the inside of my card...


Thanks for stopping by! I'm off to play some more!

Stamps: Fanciful Feathers, Basic Banner (Wplus9) Paper: Wildflower (Carta Bella) Ink: Brilliance Black  Dies: Fanciful Feathers Die (Wplus9) Stitched Journalling card (Lawn Fawn) Other: Twine, Button, Envelope Punch Board (WRMK) Enamel Dots (Doodlebug)

Playing along with the SSS Thank You challenge!