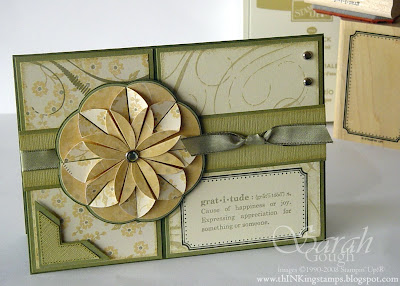
This is a card made with the emphasis on the Dahlia folded accent. I wanted to try this technique to highlight the beauty of some of our new Double Sided Papers -they are truly gorgeous! The paper used on this card is from the Le Jardin pack. Here's the step by step:
- Construct the Dahlia medallion. Instructions are here: http://thinkingstamps.blogspot.com/2008/04/technique-spotlight-dahlia-fold.html
- After putting together your Dahlia, use SNAIL adhesive to layer it on a piece of Mellow Moss card stock. Carefully cut around your medallion, then repeat the process using Always Artichoke.
- Lay your medallion on the foam mat from the Mat Pack, or a foam mouse pad would work. Pierce a hole through the center using a piercing tool or large darning needle. Add a Green Rhinestone Brad to the center.
- Cut a piece of Le Jardin paper for the left hand side panel. Sponge the edges with River Rock before layering onto a piece of Mellow Moss, also sponged with River Rock.
- Cut a piece of Very Vanilla for the right hand side. Stamp the frame image from Frames with a Flourish with Always Artichoke ink, using the Stamp-a-ma-jig Stamp Positioner to line it up correctly.
- Use the Stamp-a-ma-jig again, this time to stamp the sentiment from Life Definitions into the frame using Mellow Moss ink.
- Make a mask for your framed image by stamping the frame onto scrap paper, and putting 2 Way Glue on the back - allow to dry until this is just tacky.
- Stick your mask over the frame, and stamp the background in River Rock. I've used the retired French Flair background, but the images from Carte Postale or the matching wheel would look fantastic.
- While the mask is still in place, lightly sponge around the frame and the edges of the card stock in River Rock.
- Remove the mask, layer onto Mellow Moss card and add two silver brads.
- Punch the photo corner with Mellow Moss and River Rock card. I've dotted around the River Rock layer to mimic the dots on the frame, but you could omit this step.
- Tie a piece of the gorgeous new Mellow Moss Taffeta Ribbon around a strip of River Rock layered on Mellow Moss. Adhere with SNAIL adhesive.
- Adhere the Photo Corner element and the Dahlia with Stampin' Dimensionals.
There are lots of steps to this card, but they are all really simple - give it a try, you'll come out with a beautiful card sure to make someones day!
If you would like to see the Dahlia fold demonstrated, or learn more about masking or the Stamp-a-ma-jig at your very own workshop, please give me a call or send an email for my available dates.
Happy Stampin'
Sarah
Stampin' Supplies:
Life Definitions, Frames with a Flourish, French Flair Background (retired)
River Rock, Mellow Moss and Always Artichoke Ink.
Very Vanilla, River Rock Textured, Mellow Moss, Always Artichoke card and Le Jardin Double Sided Paper.
Green Rhinestone Brad.
Silver Brads.
Mat pack.
Mellow Moss Taffeta Ribbon.
Stampin' Sponges.
Photo Corner Punch.
2 Way Glue Pen for adhering mask.
SNAIL adhesive.
Stampin' Dimensionals.
Stamp-a-ma-jig Stamp Positioner.
Always Artichoke Stampin' Write Marker.
1 3/8" Circle Punch (for Dahlia)
1" Circle Punch (for Dhalia)
All supplies available from Stampin' Up!


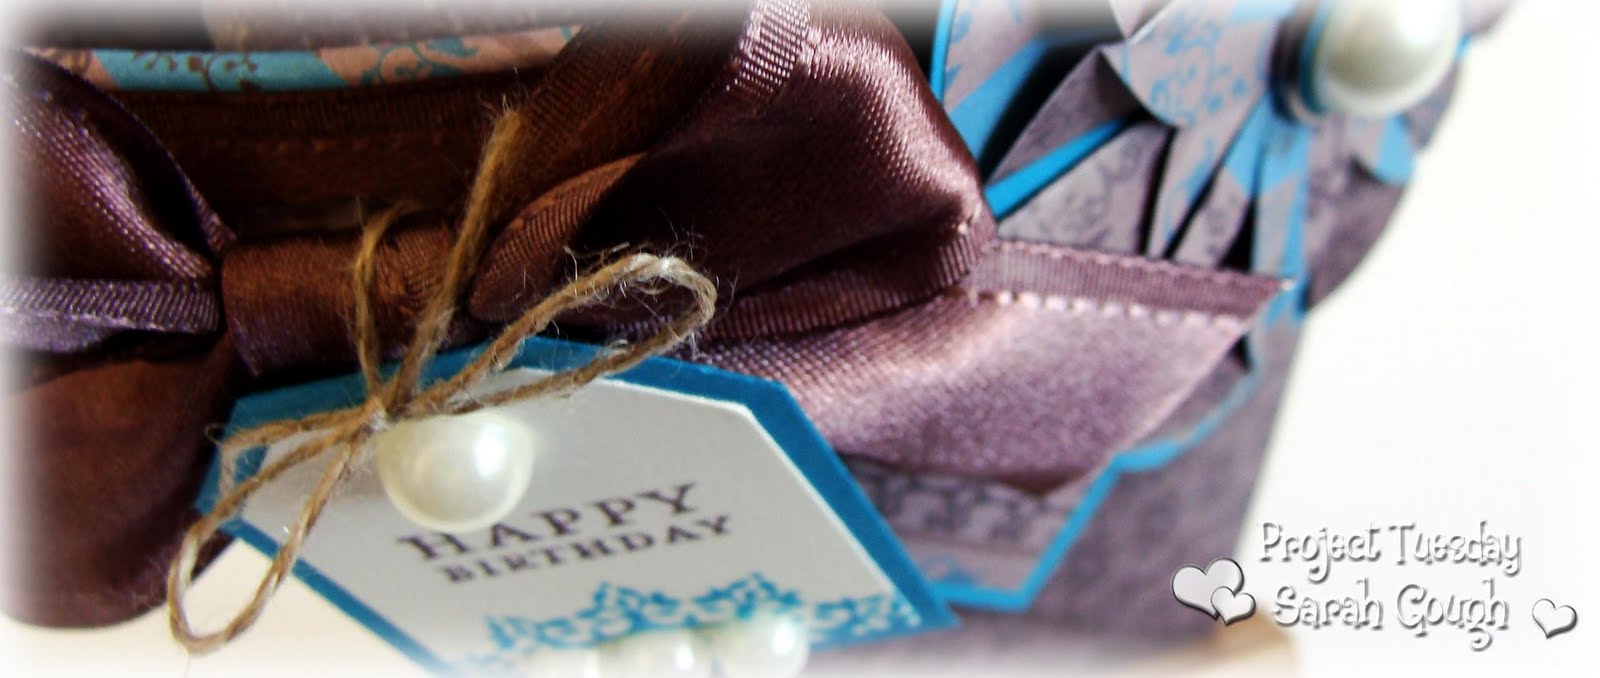 It's time for another awesome Project Tuesday challenge! This week Rose has asked us to create a Diaper Fold Pouch. I love getting to create all these things I've been meaning to try for years!
 You can use these pouches as a base for a pull-out card or tag or as gift wrapping, I've filled mine with a bag of chocolate.
 I stamped the scalloped circle image from Vintage Labels and punched my tag so just the top of the circle was showing. A simple sentiment and some pearls from the Pretties Kit finished this off.
 I've used the Dahlia Fold for my large accent. The Pretties Kit pearl is mounted inside a Build-a-Brad.


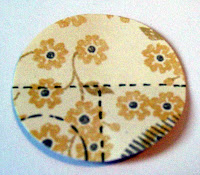
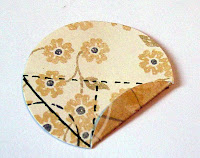 This part is a little tricky, but you'll soon get used to it. Make a fold from the two points where your creases meet the outer edge of the circle. The solid line on the left of the circle is where you should fold, the right side has been folded already.