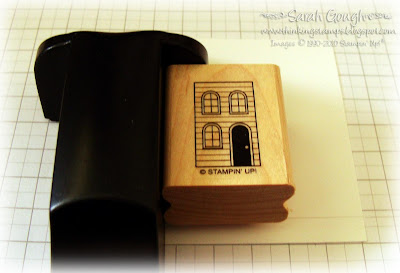
 First, stamp your image. This will be the image that appears to be in front of your second stamped element.
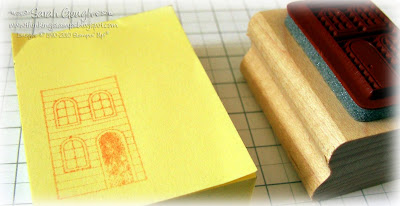 Before cleaning your stamp, stamp again onto a thin piece of scrap paper or a post-it-note. Make sure you're stamping over the sticky strip - this is helpful later. Cut out your image staying just INSIDE the lines of the image. This stops you getting a white border between your two elements.
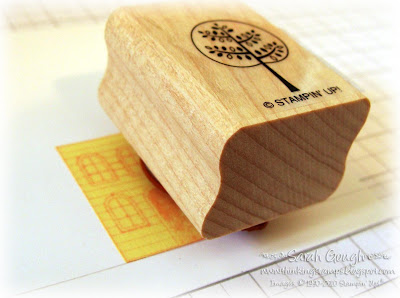 Place your mask over your stamped image. If you stamped onto a post-it your mask will stay in place nicely, otherwise you may want to use a little bit of temporary adhesive to ensure your mask stays in place.
Stamp your second image, overlapping as much or as little of the mask as you wish.
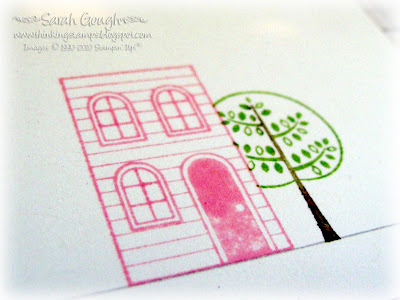 Voila! It's a simple technique for sure, but just adds a little something extra to your stamping.
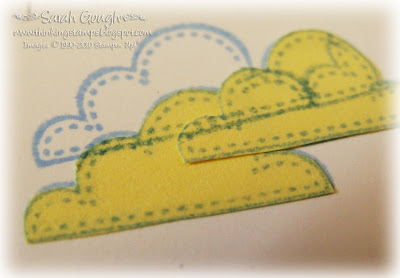 I especially like to layer my masked images for even more depth.
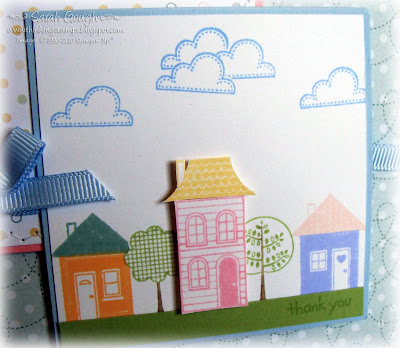 Stamp set: Good Neighbours (Free Sale-A-Bration set!)
Some supplies available from Stampin' Up! Email me for purchasing details.
It's time to Sale-A-Brate! Earn your free stamp set today!


Thanks for sharing your masking technique. I'll be sure to try that the next time.
ReplyDelete